
Ohh This bow is too cute and simple. St. Patty’s Day is one
of my favorite holidays or celebration. We get all dressed up in green and the
family and I hit the parade. The past couple years we have been very lucky to
have nice enough weather to BBQ in the back yard, hang out with family and
friends. It is like an opening day ceremony for Spring J
I am not sure how many times I have plans to make my
daughters shirt, pants or anything to stand out in the crowd of other overly
green fans.
So this year I promised to make a cute but not “babyish”
bow. She is 6 and thinks the Boutique bows are only for babies. Girls!haha.
Let’s get started!
You will need 1/4” or 3/8” grosgrain ribbon
You can use 1 or 2 colors

Hot glue
Barrette, alligator clip
Embellishment (Optional)
Scissors (Not Pictures OOPS)
I choose green and gold for my colors.
 |
| Craft Board, Not so pretty :) |
1.
Cut 6 – 3” strips for the outside clover
And 6 – 2”
strips for the inside clover
2.
Take 2 – 3” strips and put a small drop of hot
glue on top, then lay the second strip right on top.


3.
For the bottom I shaped the 2 ribbons to look
like a heart the put a small drop of hot glue on the other and placed the
ribbon at an angle.
This is so one end of the clover lays flat

Repeat with the remaining 4 strips AND the
2” strips
 |
(Took me about 5 minutes)

Easy so far!?!
 Should Look Like This
4.
Now put a dap of glue on the flat corner of the
3” clover and lay the 2” on top to attach.


Clean up the glue strings
5.
Here comes the tricky part, but once you get it,
it will be easy J

6.
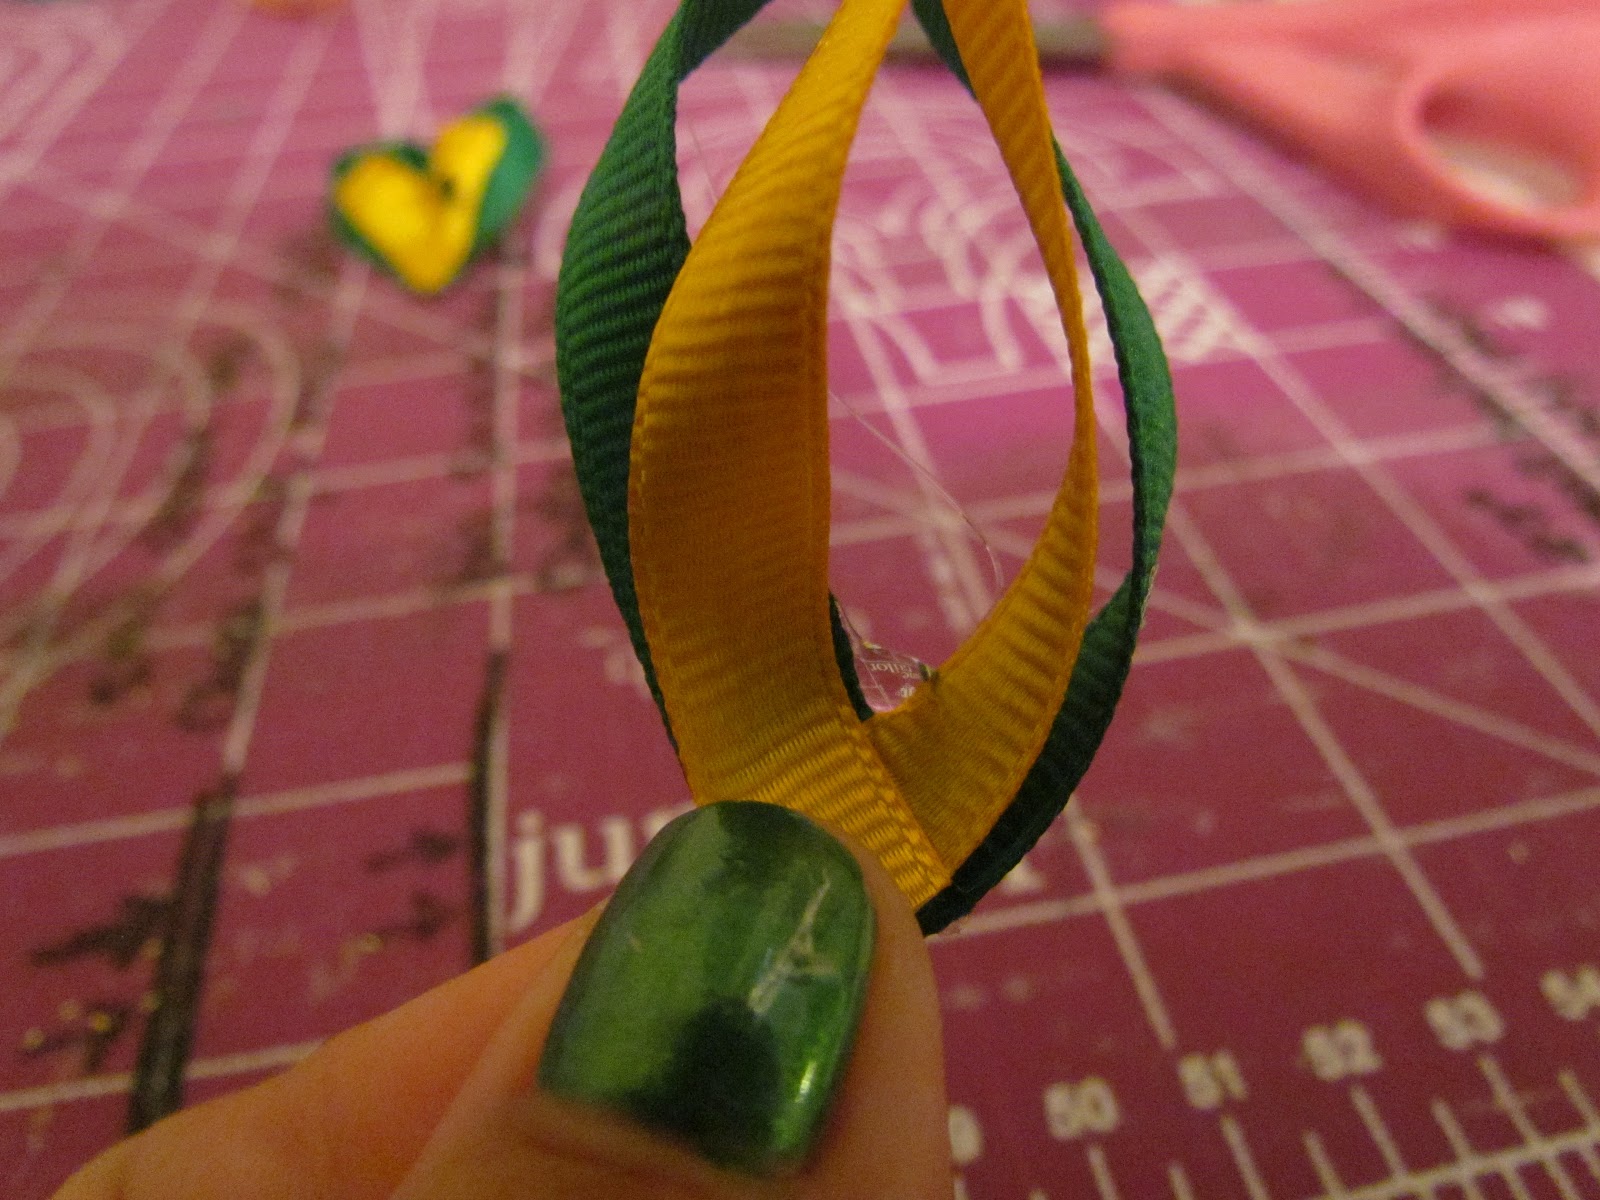
Again you are going to put an extra small drop
of hot glue in the center top of the 2” heart.
 Just a note: I put the drop of glue on the back side and slide the green ribbon down the center of the yellow heart until it couldn't go any further.
7.
Clean up any hot glue strings flying around and
you have one part of your clover!
8.
Do this 2 more times9. Now look at your pieces and see which order you want them to lay.
A small dot of glue on the flat areas of
the clovers and attached.


Looking there your own Boutique Clover!
No comments:
Post a Comment